


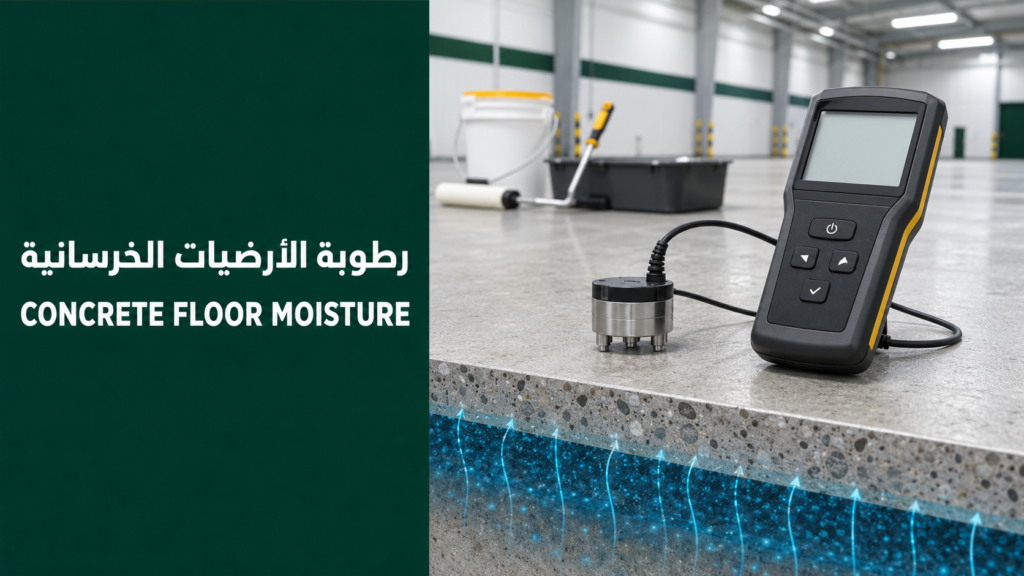
A concrete floor can look dry while moisture remains within its pore structure and moves toward the surface after a coating is installed. Concrete floor moisture must therefore be assessed before epoxy or another relatively impermeable finish is applied. Ignoring it can contribute to blistering, delamination, discoloration and premature coating deterioration.
The short answer is that appearance alone cannot confirm whether a slab is ready. Use an appropriate moisture test and compare its results with the limits stated by the manufacturer of the complete flooring system. There is no single acceptance number for every primer, coating and project.
Where Does Concrete Floor Moisture Come From?
New concrete contains water needed for mixing and cement hydration. Some of the remaining water must leave the slab gradually. Moisture can also enter an older floor from the building or its operation.
Potential sources include:
- Residual water within recently placed concrete.
- Vapor movement from the ground where a vapor retarder is absent or damaged.
- Leaking water or drainage pipes.
- Frequent washdown in factories, workshops or kitchens.
- Condensation caused by surface and air-temperature differences.
- Water entering from doors, ramps or surrounding walls.
- Moisture trapped beneath an existing low-permeability coating.
Identifying the source matters. A plumbing leak requires a different solution from normal construction moisture or vapor moving from below the slab.
How Moisture Affects Epoxy and Floor Coatings
The performance of industrial epoxy flooring depends on the bond between the prepared concrete, primer and subsequent layers. When moisture or vapor exceeds what the system can tolerate, pressure or chemical changes may affect that bond.
Possible symptoms include:
- Blisters or bubbles of different sizes.
- Peeling and separation from the concrete.
- Dark patches or uneven color and gloss.
- White deposits near cracks or joints.
- Damp odors or microbial activity in adjacent organic materials.
- Failure returning after a local cosmetic repair.
Not every blister is caused by moisture. Trapped air, oil contamination, inadequate preparation or incorrect mixing can produce similar defects. The slab and failed coating should be investigated together.
Why Visual Inspection Is Not Enough
Dark areas, condensation and visible dampness can signal a problem, but their absence does not confirm acceptance. A fixed waiting period after concrete placement is also not proof of dryness. Drying depends on slab thickness, mix design, temperature, ambient relative humidity, ventilation and curing.
Handheld surface meters are useful for rapid comparative surveys and for locating areas that need further testing. Depending on the instrument and specification, they may not be sufficient as the only basis for installing a floor system.
Concrete Moisture Testing Methods
1. In-Situ Relative Humidity Testing
Test holes are drilled to the depth required by the method and probes measure relative humidity within the slab. ASTM F2170 describes determining relative humidity in concrete using in-situ probes and notes that results represent the slab condition at the tested locations and time.
This approach assesses conditions within the slab rather than relying only on the surface. Test quantity, distribution, equilibration and documentation should follow the adopted procedure.
2. Moisture Vapor Emission Testing
The anhydrous calcium chloride method measures the rate of moisture vapor emitted from a defined area of bare concrete during the test. ASTM F1869 covers this method within its stated scope.
The result reflects the surface and test conditions at that time. The method should be performed as specified and not used over coatings, leveling products or concrete types excluded from its scope.
3. Non-Destructive Electronic Survey Meters
Electronic meters can scan a large area quickly, compare readings and identify suspected high-moisture zones. Readings may be influenced by concrete density, reinforcement or salts, so these instruments are best used within a planned investigation rather than as an automatic replacement for quantitative acceptance testing.
4. Plastic-Sheet Indication
A sealed plastic sheet may reveal condensation or a color change beneath it. This is a limited indication rather than a quantitative value that can always be compared with a coating manufacturer’s threshold. It should not be the sole basis for accepting a slab.
Moisture-Test Comparison
| Method | What It Measures | Best Use | Main Limitation |
| In-situ RH probes | Relative humidity within the slab | Acceptance testing before moisture-sensitive flooring | Requires drilling, equilibration and standardized execution |
| Calcium chloride | Vapor emission from the surface | Comparing emission with system requirements | Represents the surface and conditions at the test time |
| Electronic survey meter | Rapid comparative readings | Mapping areas for further investigation | Concrete composition can influence results |
| Plastic sheet | Visible condensation or darkening | Preliminary indication | Non-quantitative and insufficient for final acceptance |
When Should the Slab Be Tested?
Testing should be performed when building conditions are close to expected service conditions, with heating, cooling or ventilation stabilized as required by the method and project specification. During refurbishment, coatings may need to be removed where the adopted test requires bare concrete.
Large spaces need distributed test locations rather than a single reading beside the entrance. Include areas near water sources, joints, cracks and sections previously covered by old finishes.
How Should Results Be Interpreted?
A test does not simply label the entire slab “wet” or “dry.” A defensible decision connects:
- The specified test method and adopted edition or procedure.
- Each result and its location on the floor plan.
- The moisture limit in the primer and coating technical data.
- Ambient conditions during testing.
- Vapor-retarder information and active water sources.
- Manufacturer, contractor and consultant warranty requirements.
One system may accept a condition that another does not. A threshold from a previous project should not be copied without checking the products proposed for the current floor.
What If Moisture Exceeds the System Limit?
Waiting is not always the complete solution. First identify the source:
- Repair plumbing, drainage or building-envelope leaks.
- Improve ventilation and environmental control if the slab is still drying.
- Retest after an appropriate interval at documented locations.
- Investigate the vapor retarder where ground moisture is suspected.
- Assess a compatible, approved moisture-mitigation system after concrete preparation.
- Change the floor finish if the original system is unsuitable for the slab condition.
Applying a thicker ordinary coating to hide moisture can trap it and delay failure rather than prevent it.
Surface Preparation Does Not Replace Moisture Testing
Grinding or shot blasting removes weak material and contamination and creates the profile needed for bonding. It does not stop an active moisture source below the slab. Likewise, repairing concrete floor cracks does not correct moisture moving through those cracks.
A robust installation plan therefore contains two distinct but coordinated approvals: moisture-condition acceptance and surface preparation to the cleanliness and profile required by the system.
Does Moisture Affect Polished Concrete?
Polished concrete does not rely on a full epoxy membrane, but the slab still needs assessment. Leaks, salts and moisture can affect appearance and create deposits or staining. Some protective treatments also have substrate-condition requirements. Water sources should be repaired before polishing rather than concealed beneath a glossy finish.
Common Pre-Installation Mistakes
- Assuming pale concrete must be dry.
- Treating slab age as sufficient evidence.
- Testing only one point in a large facility.
- Using an electronic survey without proper documentation or follow-up tests.
- Ignoring primer and topcoat manufacturer requirements.
- Coating damp concrete in the hope that epoxy will block vapor.
- Repairing blisters without investigating the moisture source.
Frequently Asked Questions
Can concrete moisture be seen?
Sometimes damp patches or condensation are visible, but a slab may look dry while holding moisture internally. Testing is required before installing a moisture-sensitive system.
What moisture level is acceptable before epoxy?
There is no universal number for all products. Apply the test method and limit stated by the manufacturer of the selected primer and flooring system.
Does ordinary epoxy stop moisture vapor?
Ordinary epoxy is not automatically a moisture-mitigation system. Where testing demonstrates a need, use a solution specifically designed and approved for that purpose and compatible with subsequent layers.
Can a blistered epoxy floor be recoated?
Yes, but only after failed material is removed, the water source is diagnosed and corrected, the slab is retested, and the concrete is properly prepared. Direct recoating can lead to repeat failure.
Is one moisture test enough for a warehouse or factory?
Usually not. Test quantity and distribution should reflect the adopted standard, project area, slab construction and risk zones. Results should be mapped rather than averaged without context.
Conclusion
Testing concrete floor moisture prevents an installation decision based only on appearance or slab age. Select the correct method, distribute test locations, compare results with the actual system requirements, correct active sources and prepare the surface properly. These steps help protect epoxy and other coatings from blistering, delamination and costly downtime. Contact Saudi Floors to assess the slab and define the preparation and flooring system before installation.